From image to Microsoft Mesh in 5 minutes - How To Mesh🤯
Learn how you can transform any picture to a 3D model for Microsoft Mesh and HoloLens in minutes!

Using the Microsoft Mesh preview on the HoloLens 2 has been a blast. I simply never get bored of drawing things all around the room and filling the air up with 3D models.
One thing I've especially been enjoying is adding my own pictures to Mesh as 3D models. These could be your own logos or whatever you want. Due to the simplicity of Microsoft Mesh, adding these models is actually even more simple than you might think. In this article, I'll present to you 2 different ways of adding models to your Mesh environment, one simple and the other a little more advanced. This is also the first part of my new "How To Mesh" -series! 😎
Method 1 - Paint 3D
Sometimes people forget that a rudimentary 3D tool is shipped to them right from the start with Windows, that being Paint 3D (Don't worry, I'd forget too 😁).
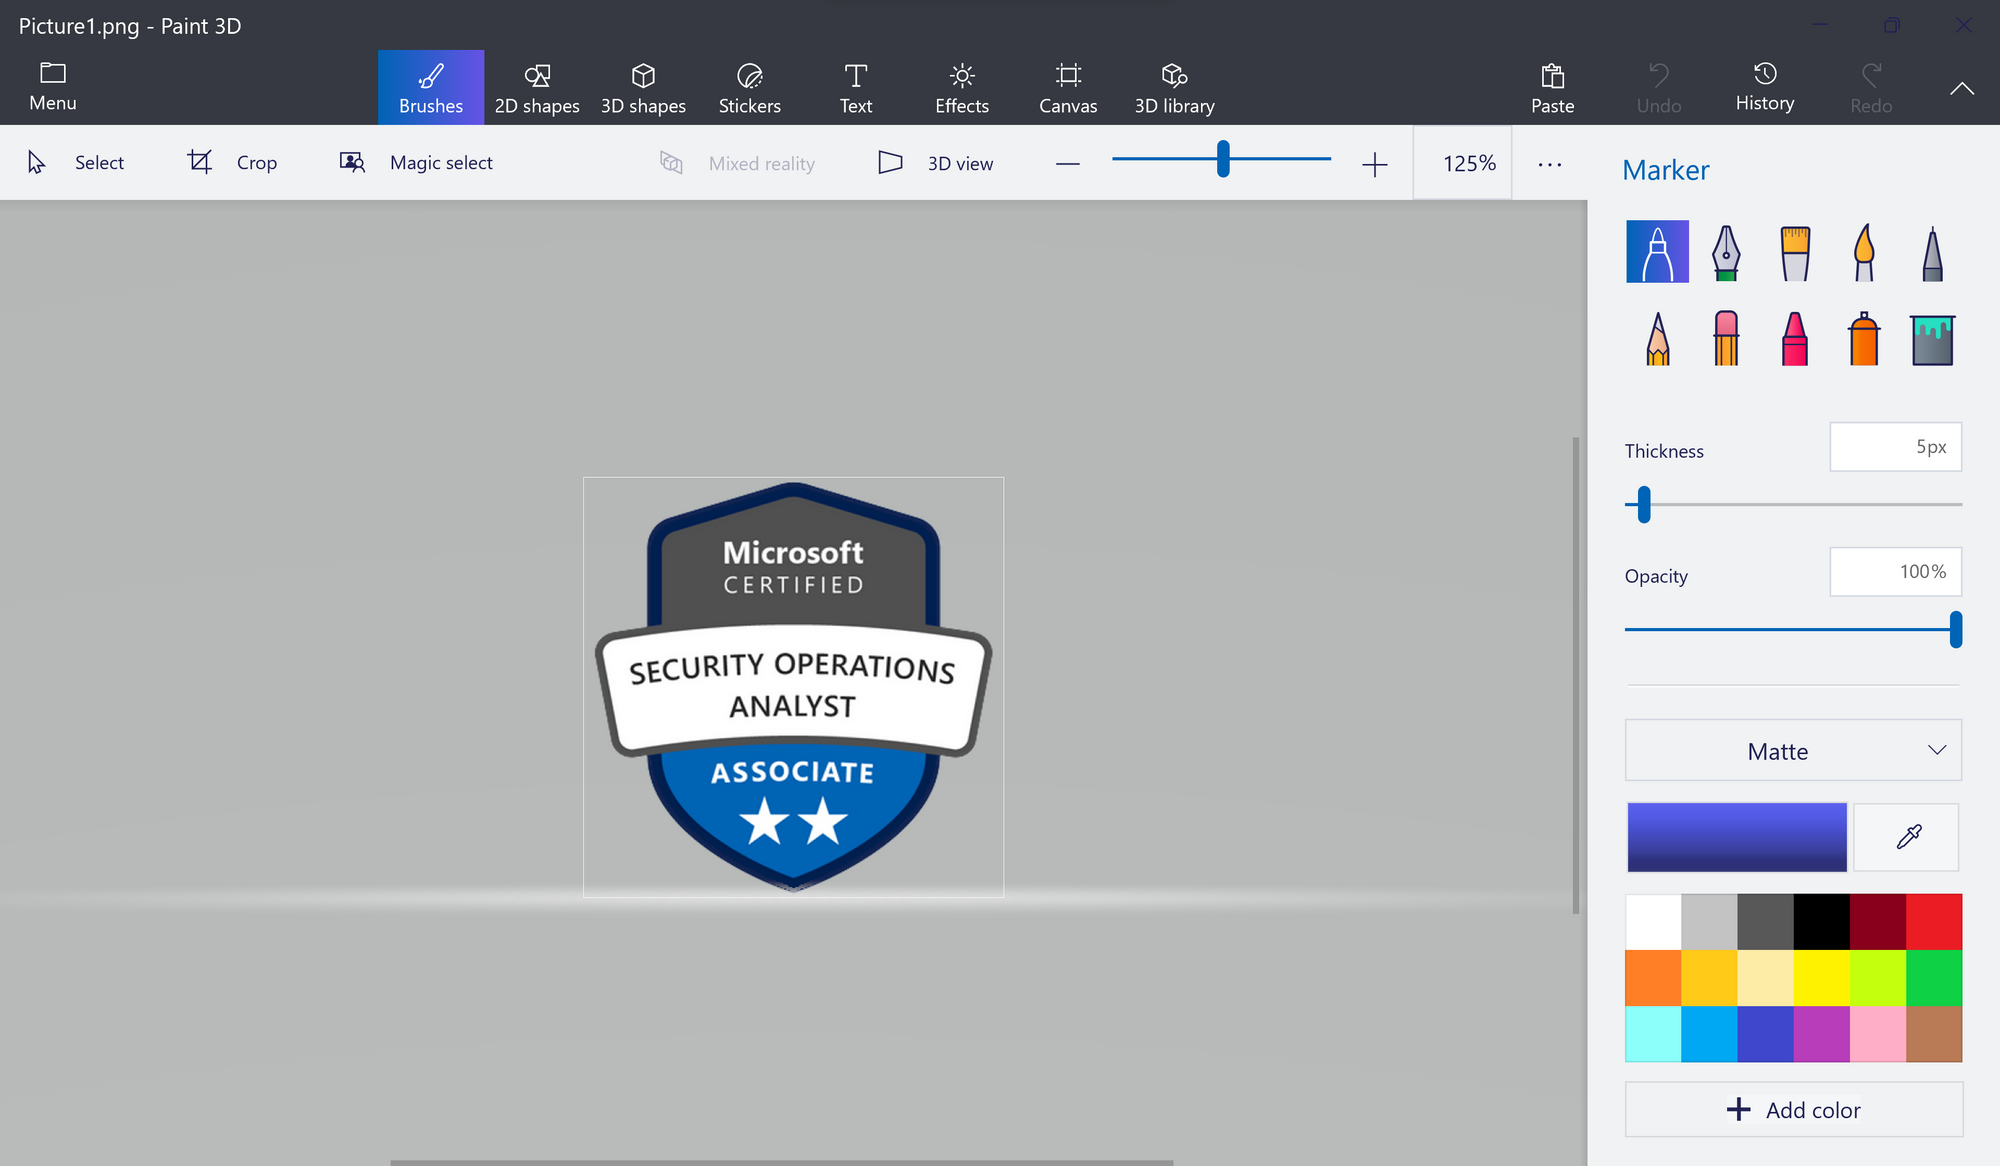
We can simply open up a .png or .jpg image file in Paint 3D, like I did with my SC-200 certification badge right here
Now just select the object with CTRL + A, and select "Make 3D"
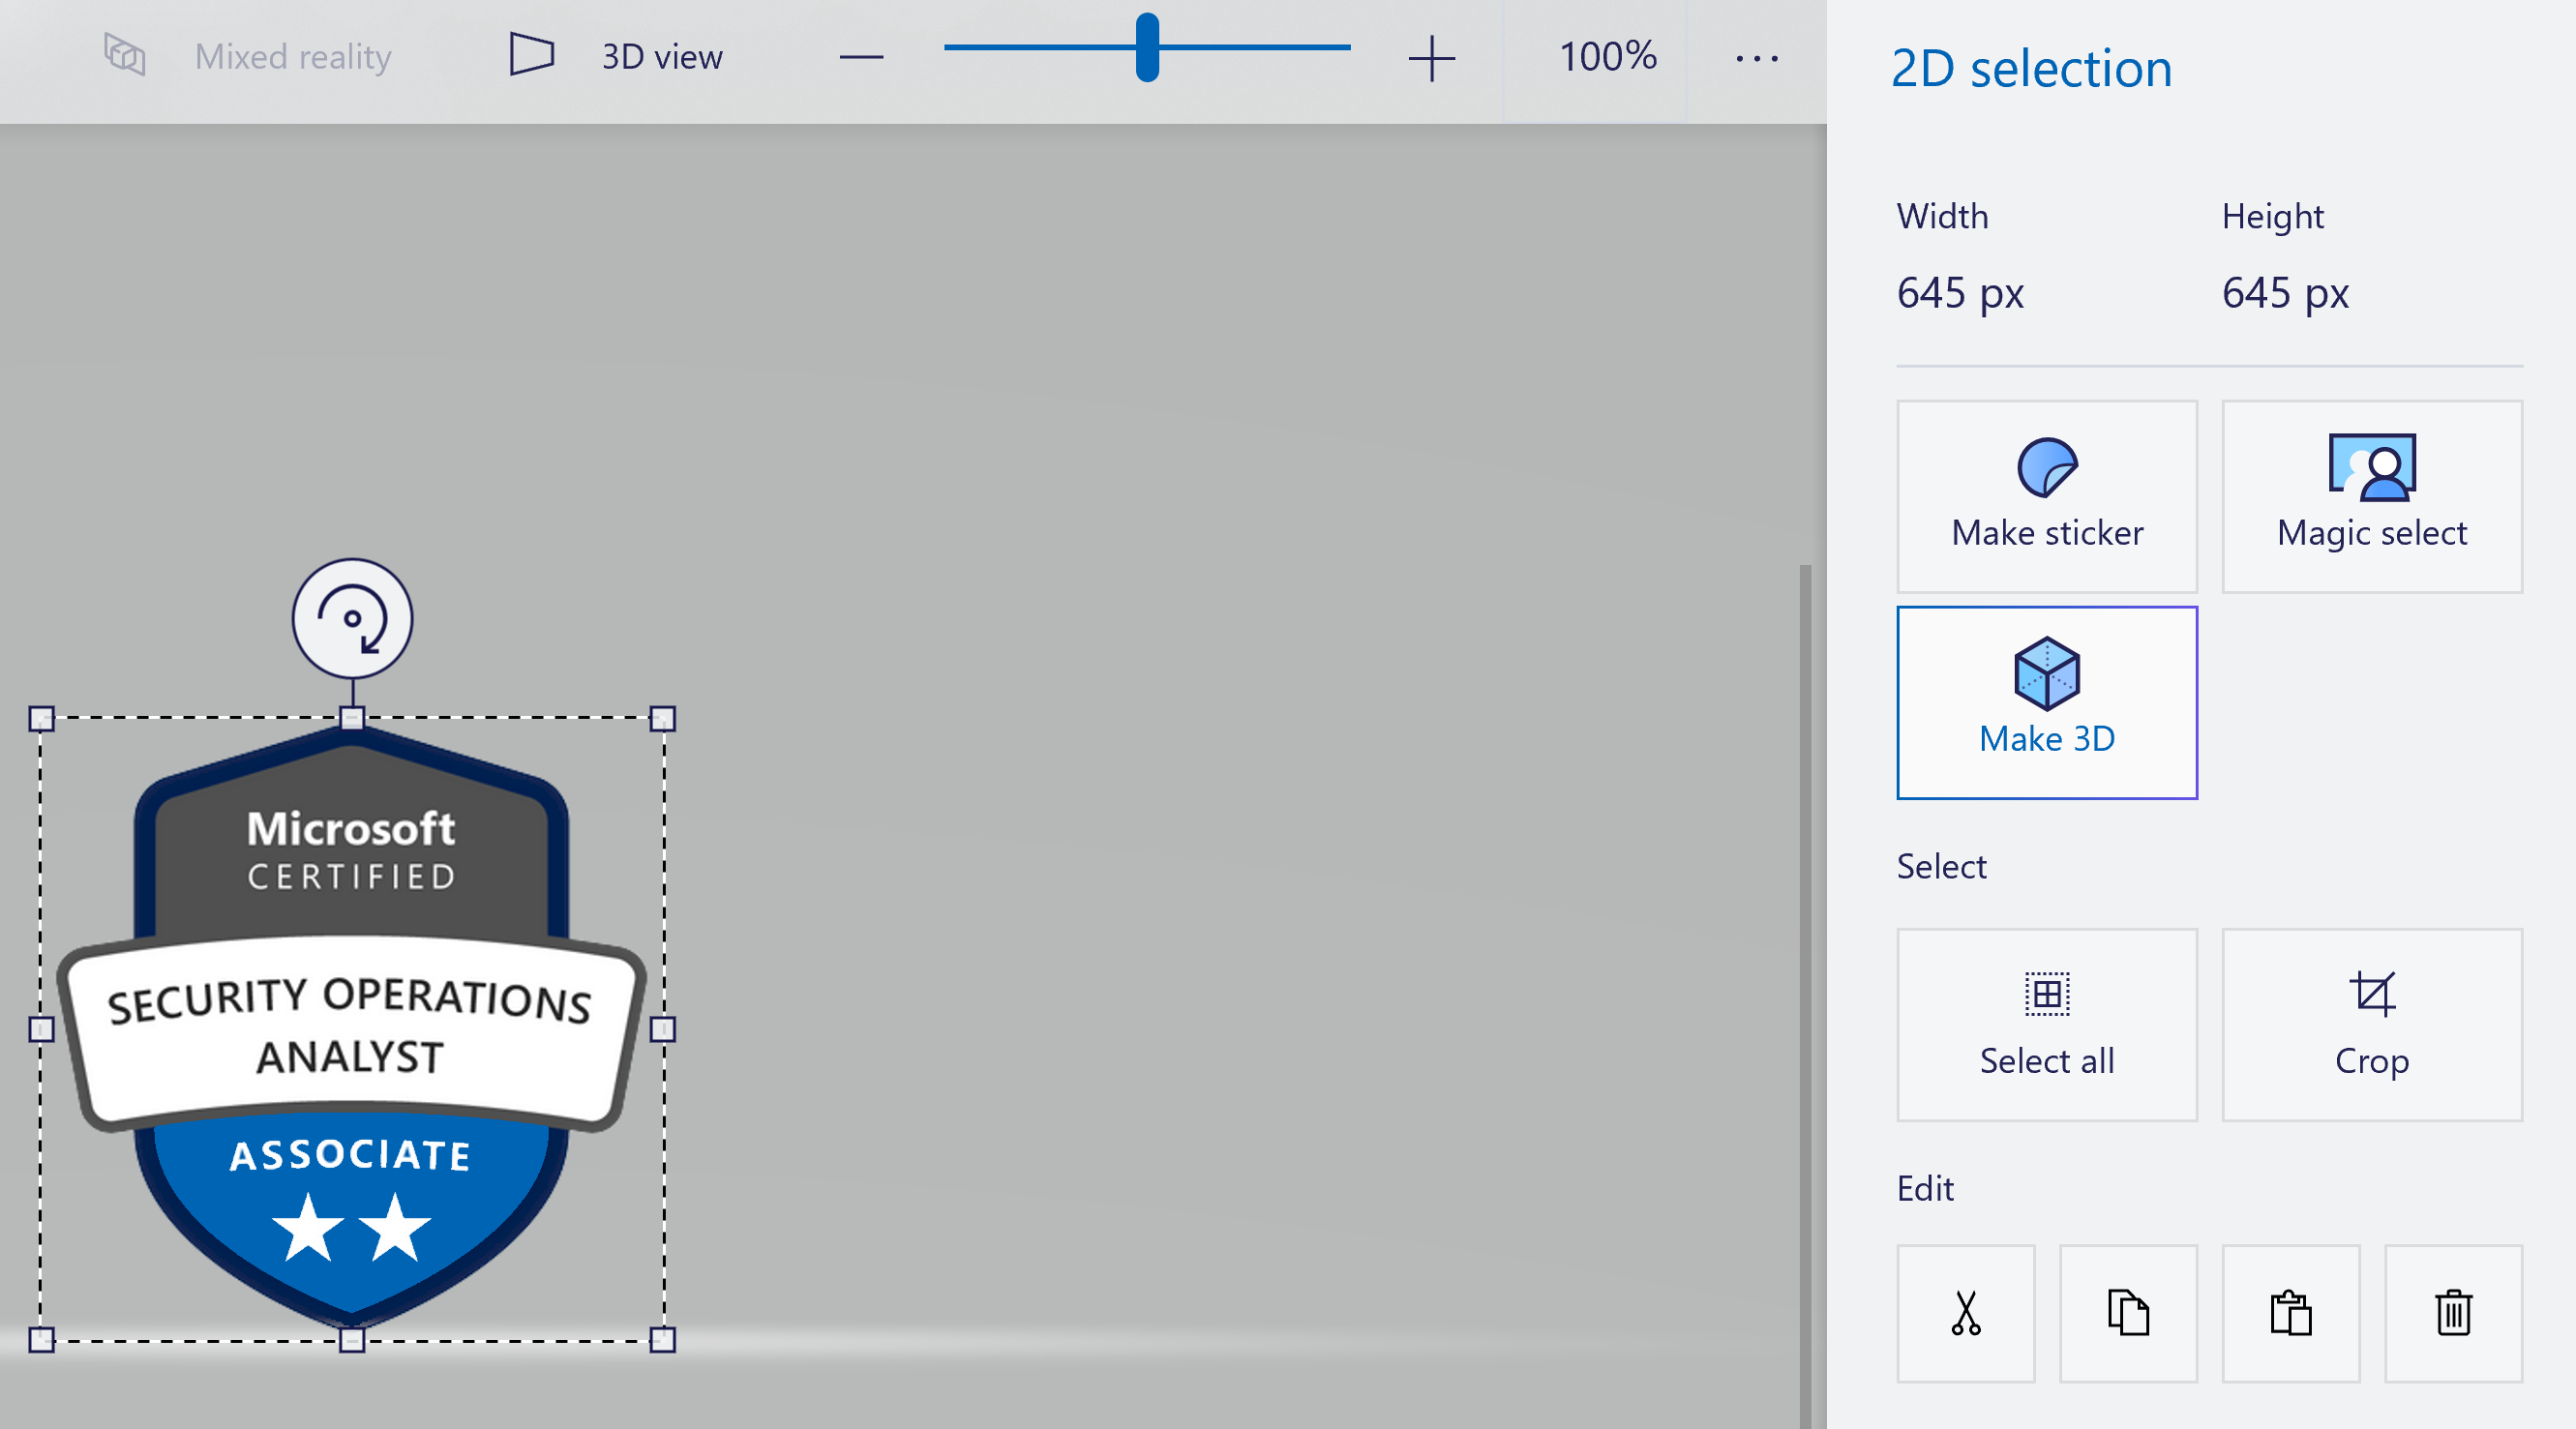
This transforms your 2D object into a 3D object. Now keep in mind, this doesn't give the object any depth, so it's still just a 2d image, but in a form we can put into a 3D environment.
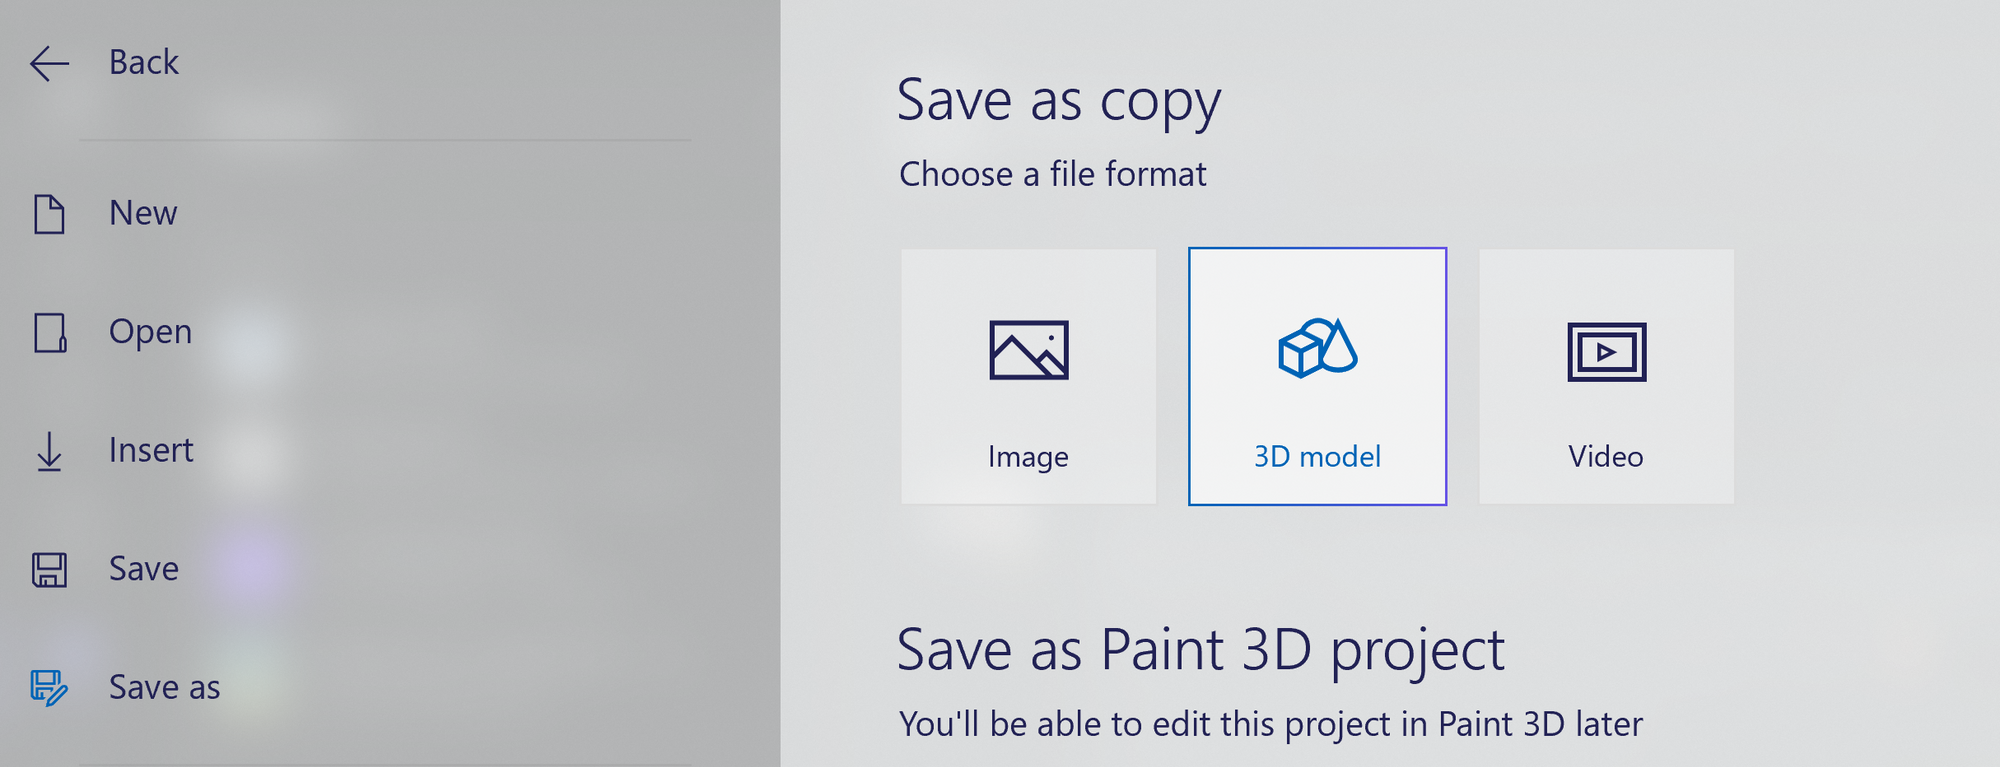
After this, just go and save your creation as a 3D model! Remember to keep the format as .glb, since that's what Mesh uses.
Method 2 - Blender
Another method is to use Blender, which is an open-source 3D design program that's loved in the online community for it's wide array of use cases. I must confess that I am not in any way a professional in using Blender, but luckily the program has a dedicated online community with a lot of tutorial videos to help you through everything step by step!
I followed this awesome tutorial by Polyfjord, which goes through importing an SVG file into blender and extruding it into a 3D object.
The difference with this method to Paint 3D is that you can extrude parts of the picture and make it into a real 3D object. For example, with my certification badge, I could make the different parts of the badge have varying levels of thickness, creating a more 3D look!
In the end, here's what I came up with:
Not the most amazing, but acceptable for a few minutes of beginner work 👍🏻
Now these are neat, but how do we get them into Microsoft Mesh and HoloLens?
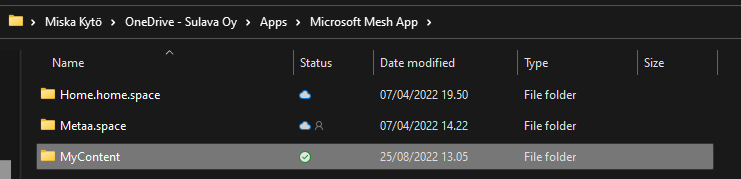
The Mesh preview for HoloLens 2 let's you easily import your own 3D models by saving them in your OneDrive. After using Mesh logged into your account, You'll have a folder created in your OneDrive, under which you'll find a MyContent-folder. In here, you can just drag and drop your 3D-models, and you're set!
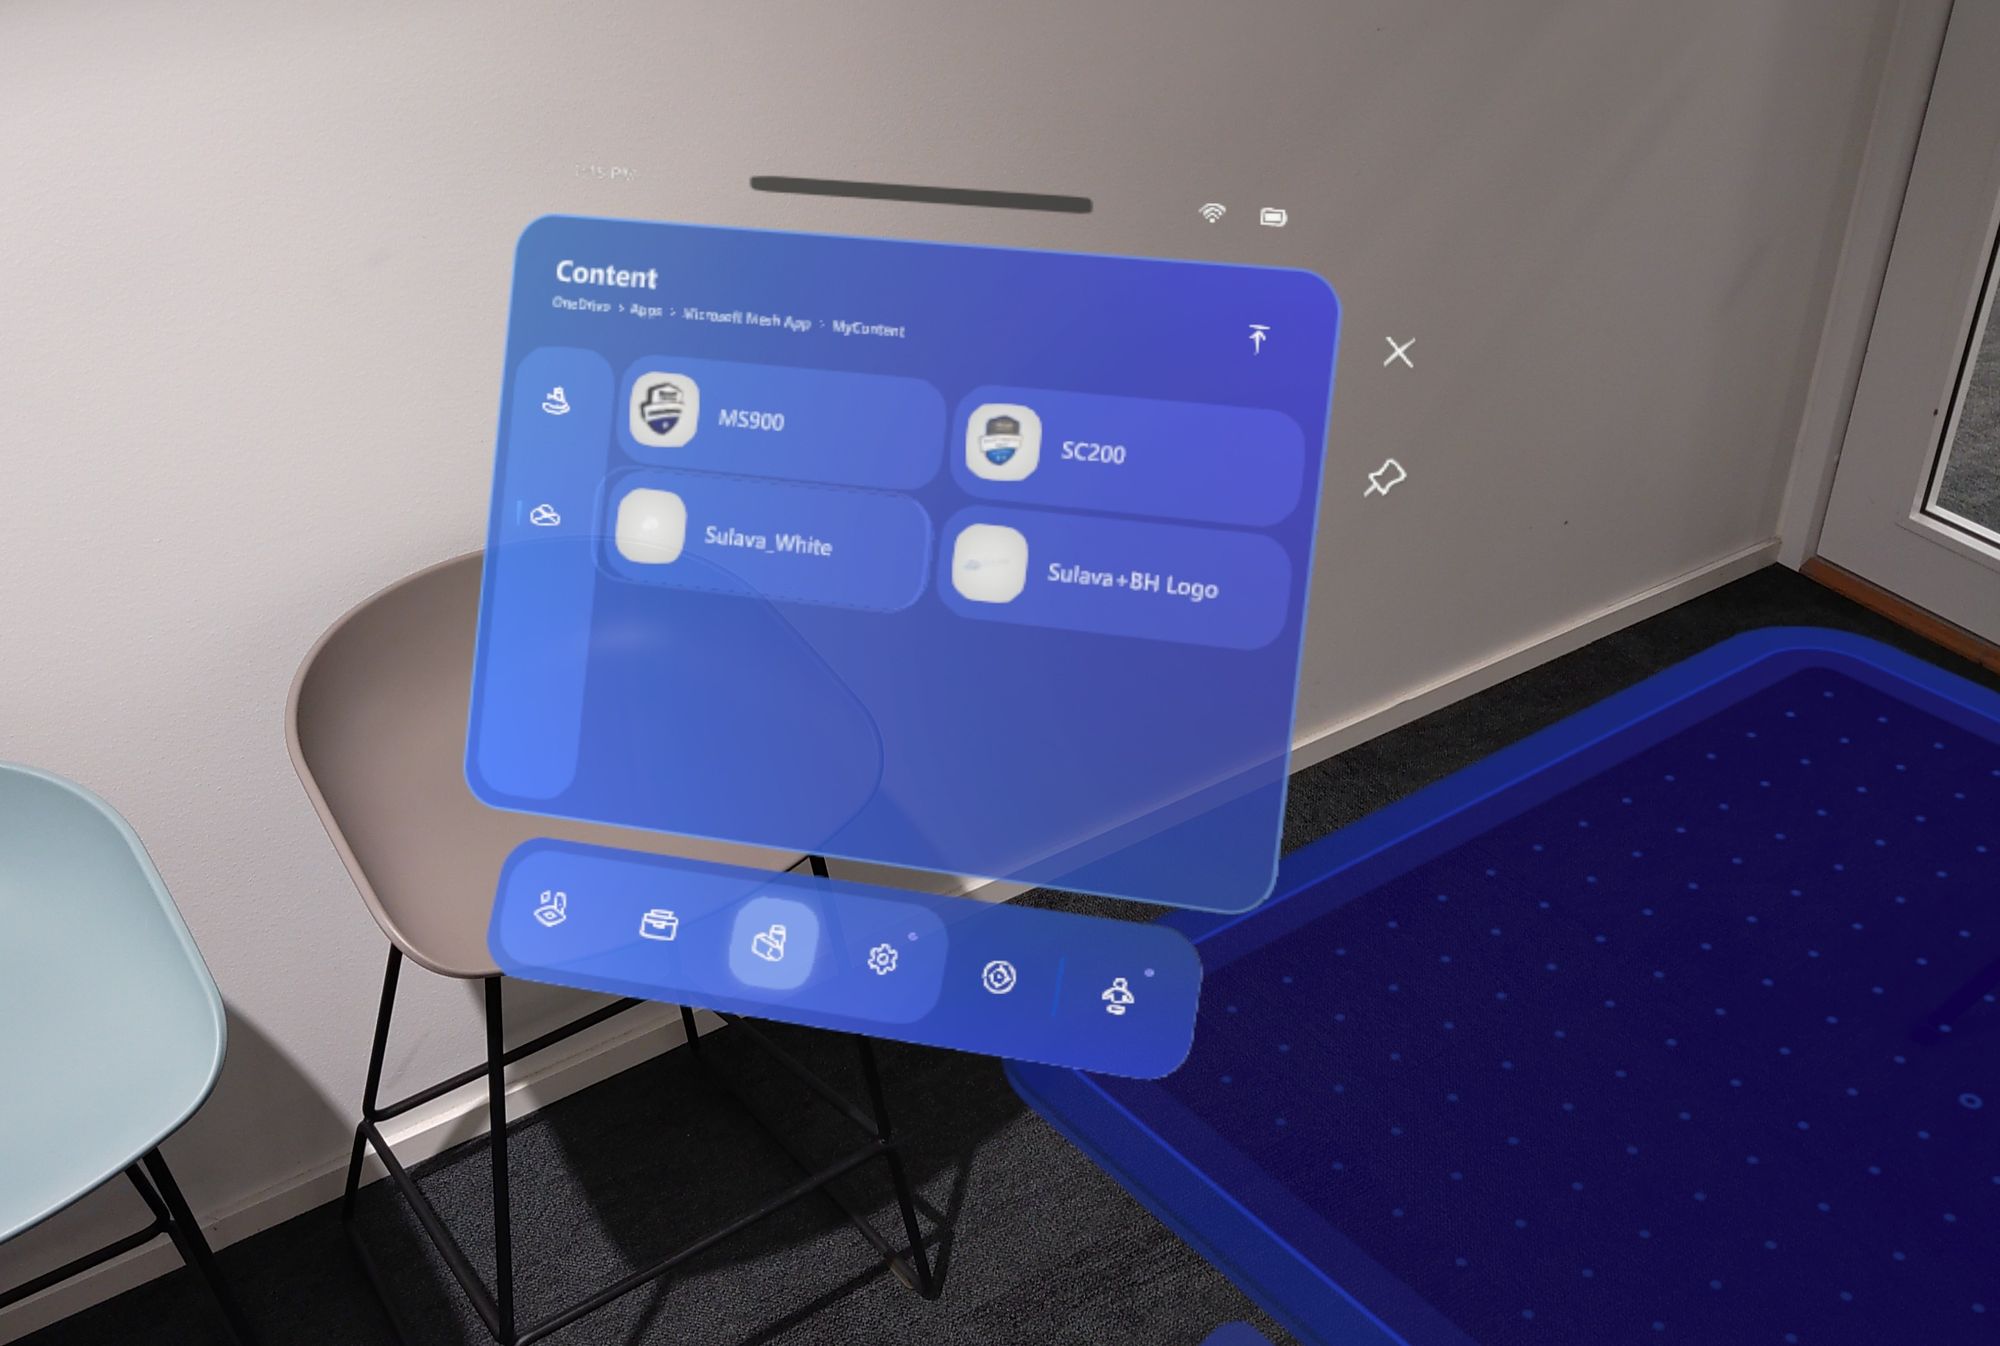
Now, let's jump on the HoloLens and see how the models look in the Metaverse!
As we can see as we open the 3D model catalogue in Mesh, we can see our models recognized, SC200 and MS900 ☁️
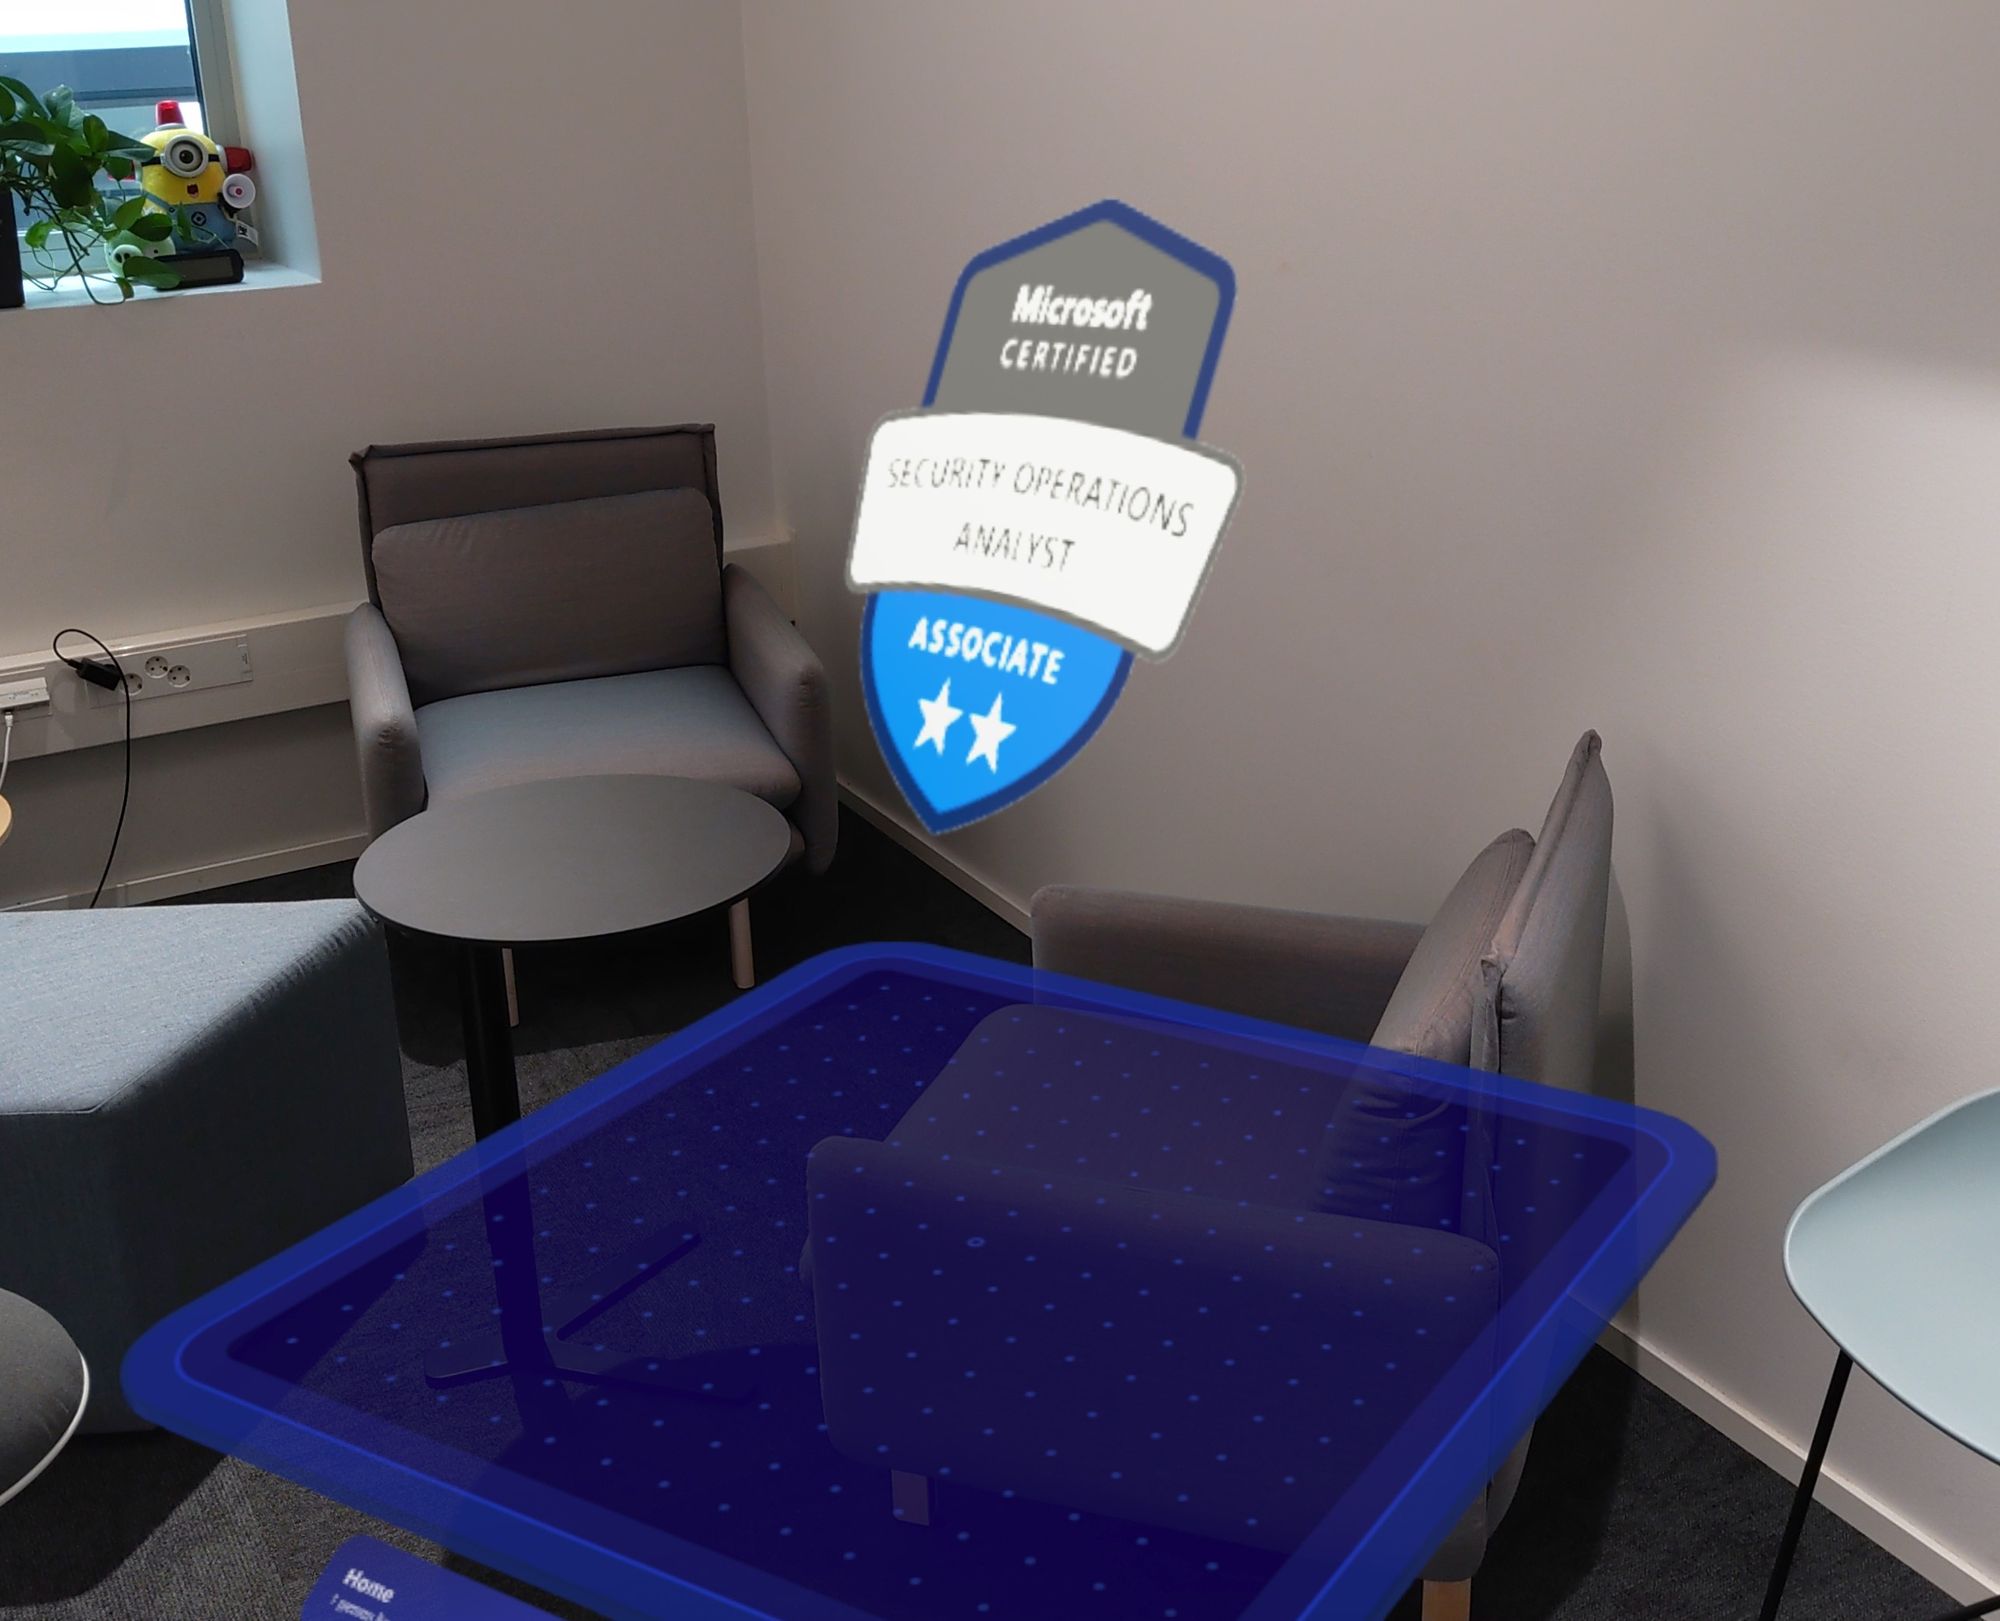
Let's first have a look at the model created in Paint 3D. As we can see, it's there, but it's very flat. This might be okay if you just want to add a logo or something quickly to a 3D environment.
Checking out the MS-900 badge created in Blender, we can see it's a little buggy on the side (which is something I expected since I'm not a 3D artist), but it's looking quite good!

Here's a little clip of me playing with the objects, so you can see how they look!
It's great to see how much you can do with such little effort with Microsoft Mesh and HoloLens. The possibilities are endless, and if I can do this, you can too! I'm looking forward to all of the possibilities we have in the future when Microsoft Mesh rolls out to all devices in the near future.
Do you have any ideas for what to add into Microsoft Mesh with your own models, or did you get inspired to create your own custom models with the methods I used? Comment down below! 😁