How to enable and deploy Microsoft Places 📌
Microsoft Places is now in Public Preview! Learn how to enable and deploy it for your company!

After a bit over a year of silence, we recently got the lovely announcement that Microsoft places is landing in Public Preview! This was a wonderful thing to see, since I was really excited about Places when it was announced, and got quite worried since it completely missed it's original launch window of 2023. I even blogged about Places when it was first announced at Ignite 2022.

But now it's here, so let's see how you can actually enable and deploy Microsoft Places and start using it!
What is Microsoft Places
If you don't remember the original announcement from late 2022, here's a quick recap. Microsoft Places is a new app created for the modern world of hybrid work, where in-person connections are quite rare. I find myself going to the office a couple times a week since I live pretty close-by, but many people have moved to almost fully remote after the pandemic. Places is a solution to bring people back together and to help manage hybrid work better together. It easily shows you who are planning to go to the office, suggests you to book meeting rooms when conferencing with people who are at the office, provides easy navigation in-office and much more.

Places is built on the meeting rooms and resources you've already configured in Outlook, and utilizes apps like Teams to help you interface more effortlessly with it's features, like setting whether you're coming to the office or working remotely for the day. Places is also licensed under Teams Premium, so getting it doesn't only get you spaces, but a bunch of other features like customized meetings and information protection on meetings!
How to enable Microsoft Places
So, how do you get started with Places? First, you'll need to enable the Public Preview for your tenant, and it's done through a few PowerShell commands. You can find Microsoft's onboarding guide here, or follow the steps below:
Step 1: Download the Places PowerShell module
First, you'll need to install the Microsoft Places PowerShell module for PowerShell 7. If you don't have PowerShell 7, you can easily install it from WinGet by running the following command:
winget install --id Microsoft.Powershell --source winget
After that, you can download Places PowerShell module, and make sure it's the specific version meant for Public Preview!
Install-Module -Name MicrosoftPlaces -RequiredVersion 0.32.0-alpha -AllowPrerelease
Step 2: Connect PowerShell module to your tenant
Next, connect your PowerShell module to your tenant by running the Connect-MicrosoftPlaces command:

Running this command will pop-up a login window for you to sign in to your tenant. After a successful login, PowerShell will confirm that you can execute commands.
Step 3: Enable Places for all users
Now, you can enable the Places web app to all of your users by running the following command:
Set-PlacesSettings -Collection Places -EnablePlacesWebApp 'Default:true'
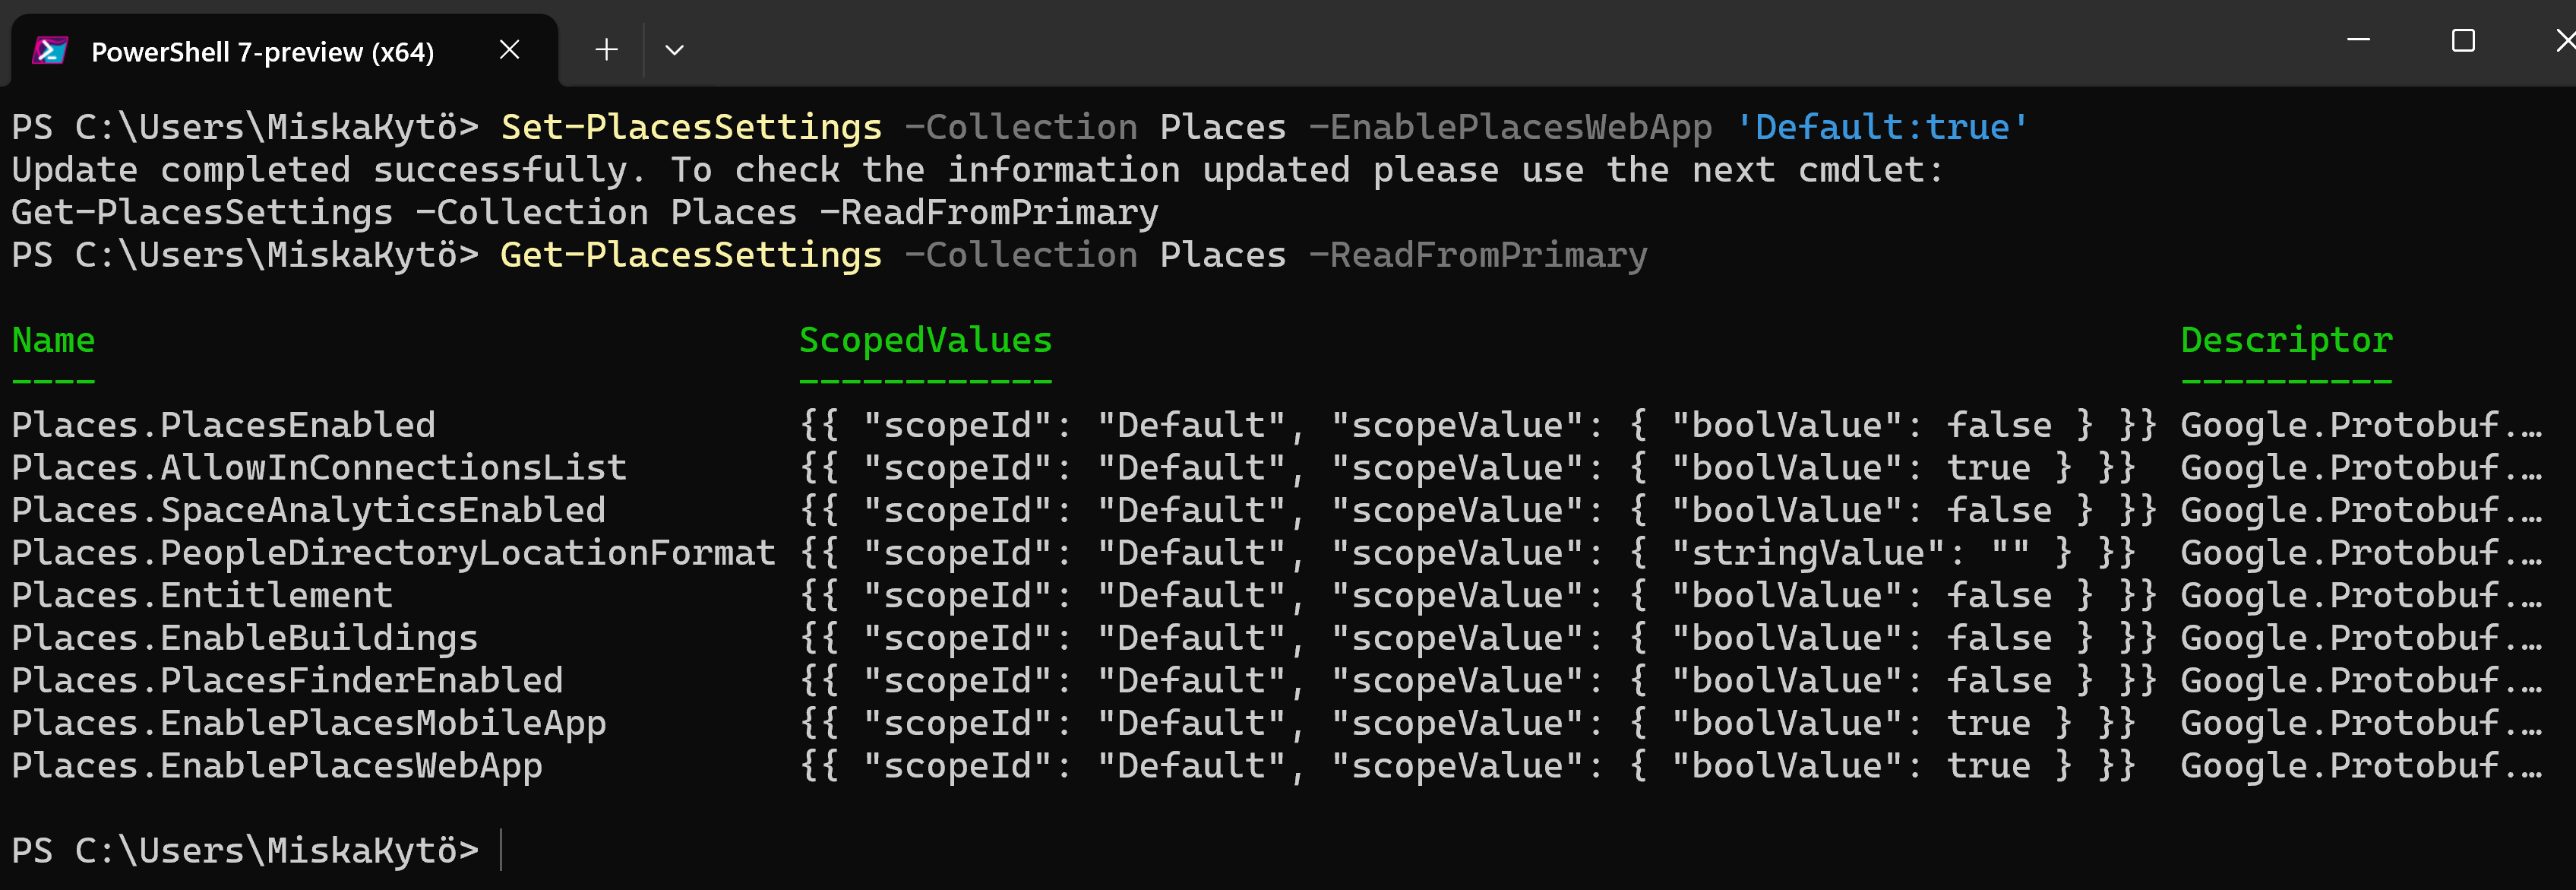
After running the command, you can check the settings by running Get-PlacesSettings like shown above. If you want to enable Places only to a specific subset of users in your tenant, that is possible through mail-enabled security groups, and you can find more information on this from the official deployment guide.
And with that, you should be good! Places should be now enabled for your users! 🎆
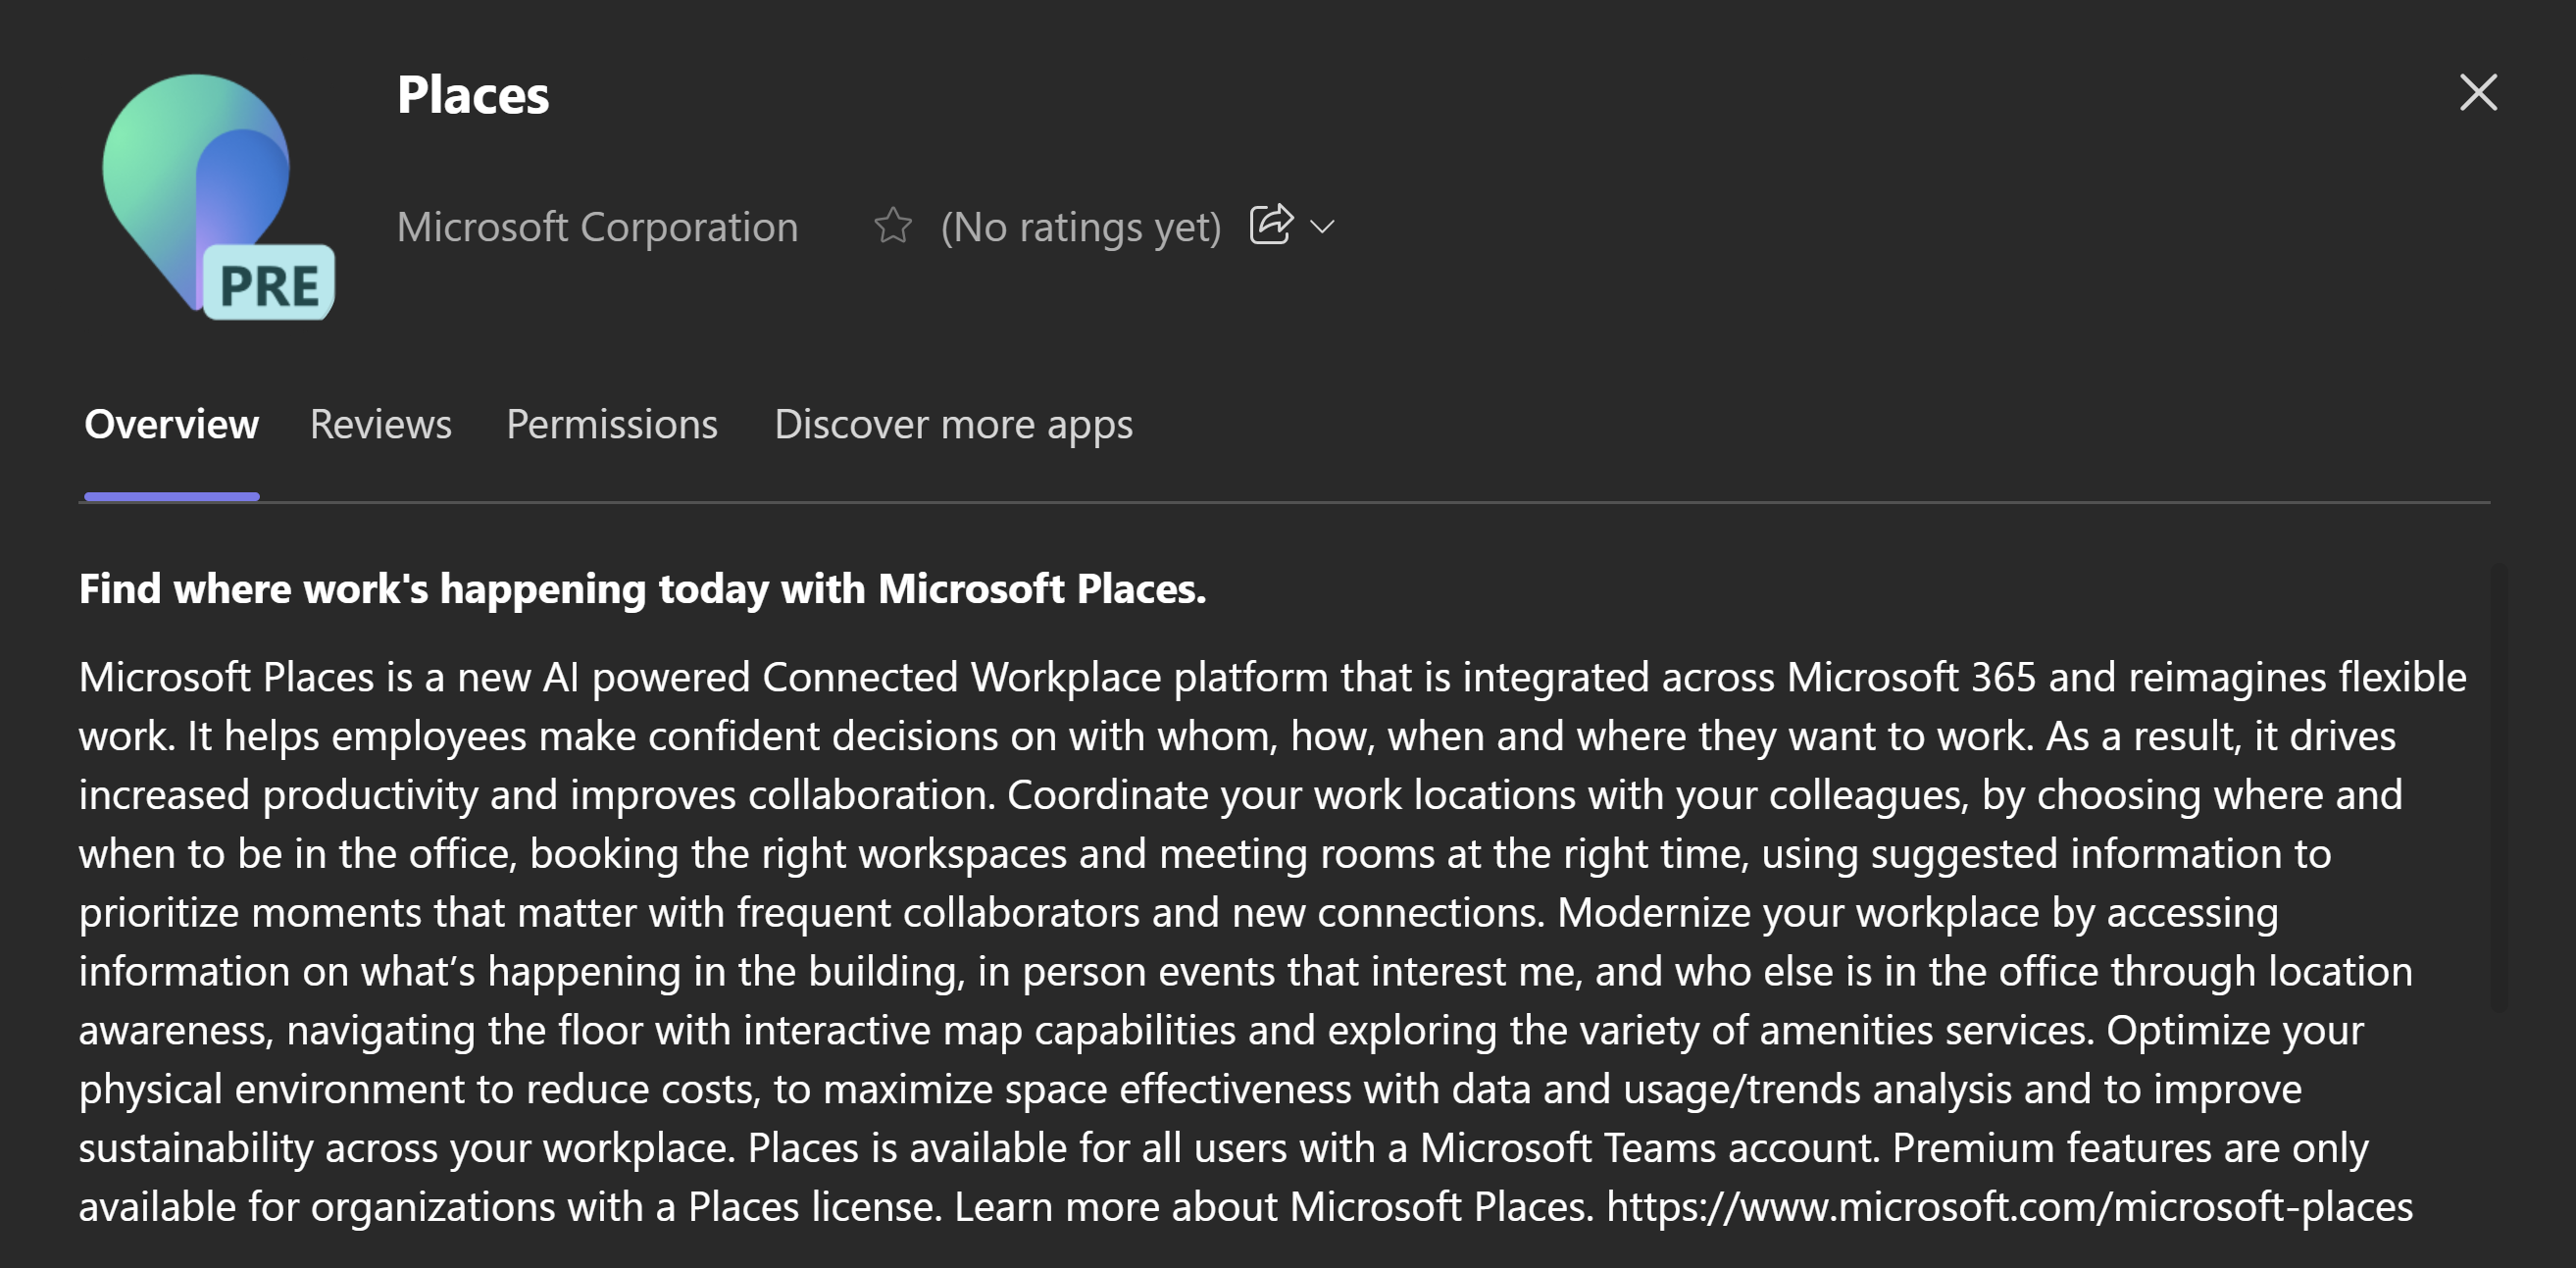
How to access Microsoft Places
Now that the app has been enabled, how do you access it? Well first, you can use the web app, which you can find from outlook.office.com/places. Another option is to install the Places app in Teams, which you can then use in both desktop and mobile.
When you open the Web App, you'll be greeted with the timetable view of your most frequent co-workers, and when they are planning to go to the office. On the right you'll also see your calendar for the day, showing you possible opportunities where you have booked a meeting with other people at the office with you. On the timetable, you'll see people at the office marked with blue, people with no status or remote status as white, and Out of Office people as red. Really easy to quickly see who's working from where!
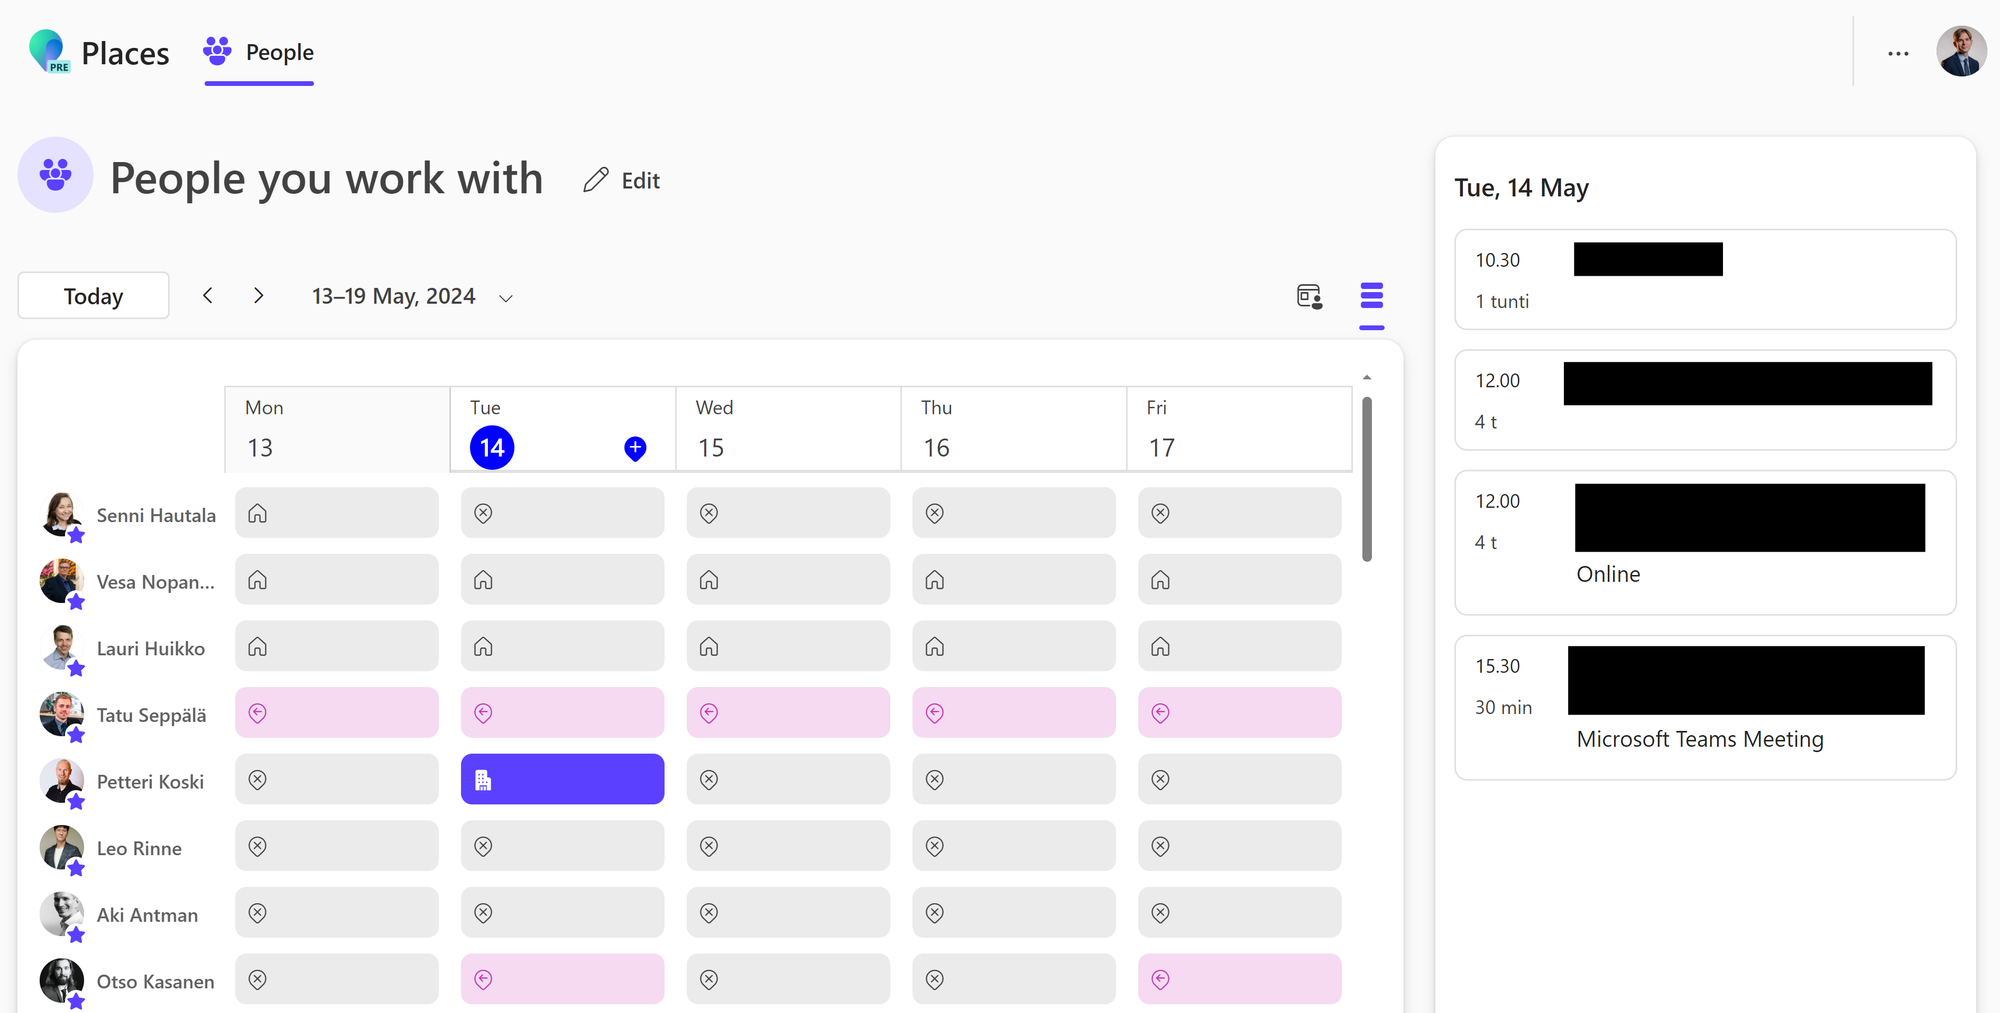
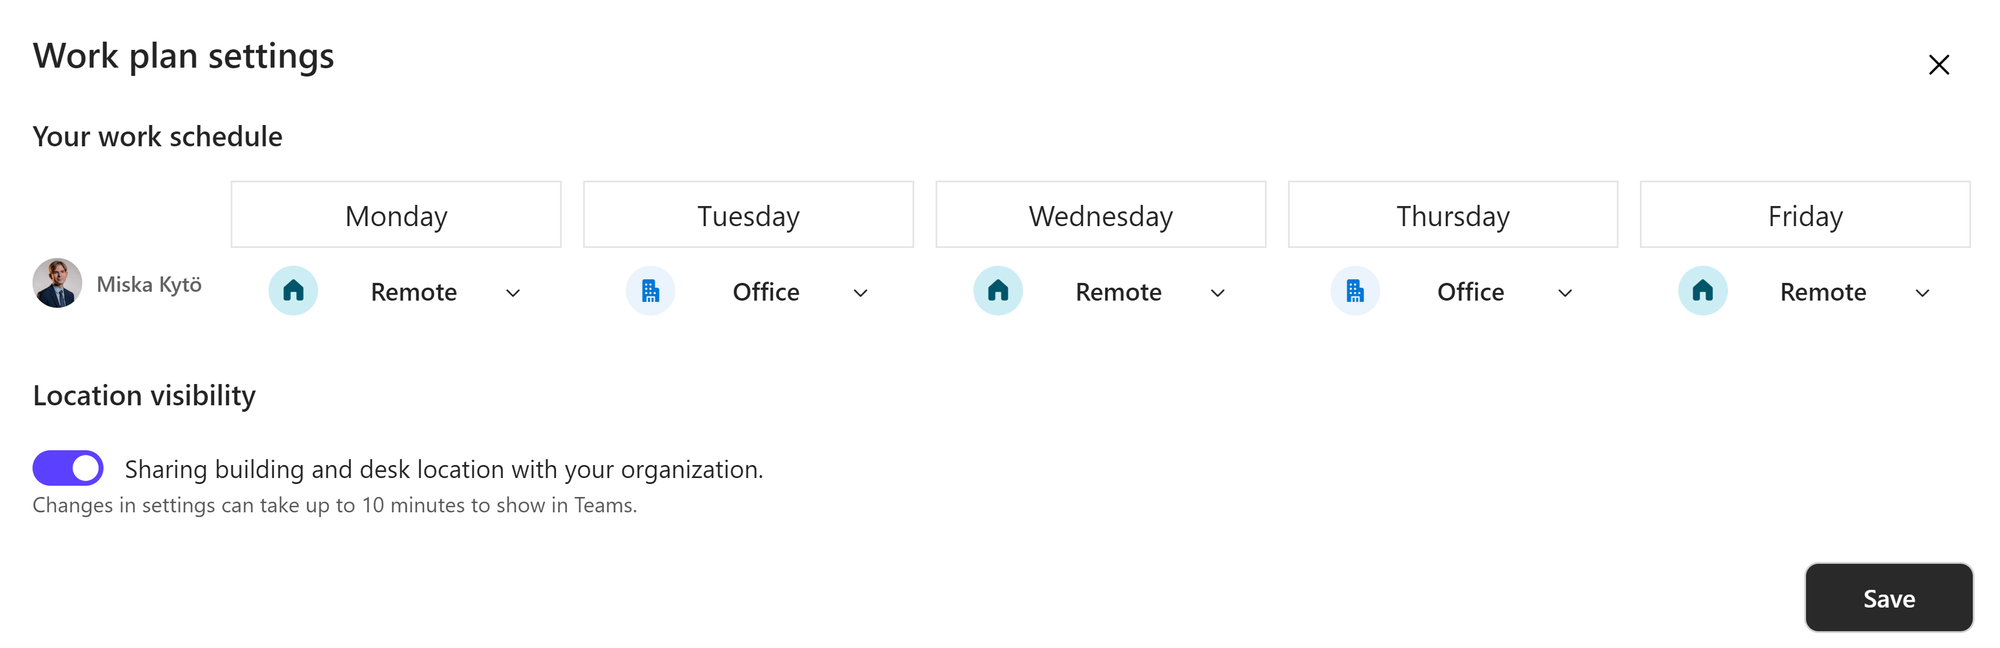
You can also easily set your work schedule to automatically set days when you're usually at the office. This can be done on first open of the app, or from the 3 dots on the top right corner and choosing "Work Plan settings"
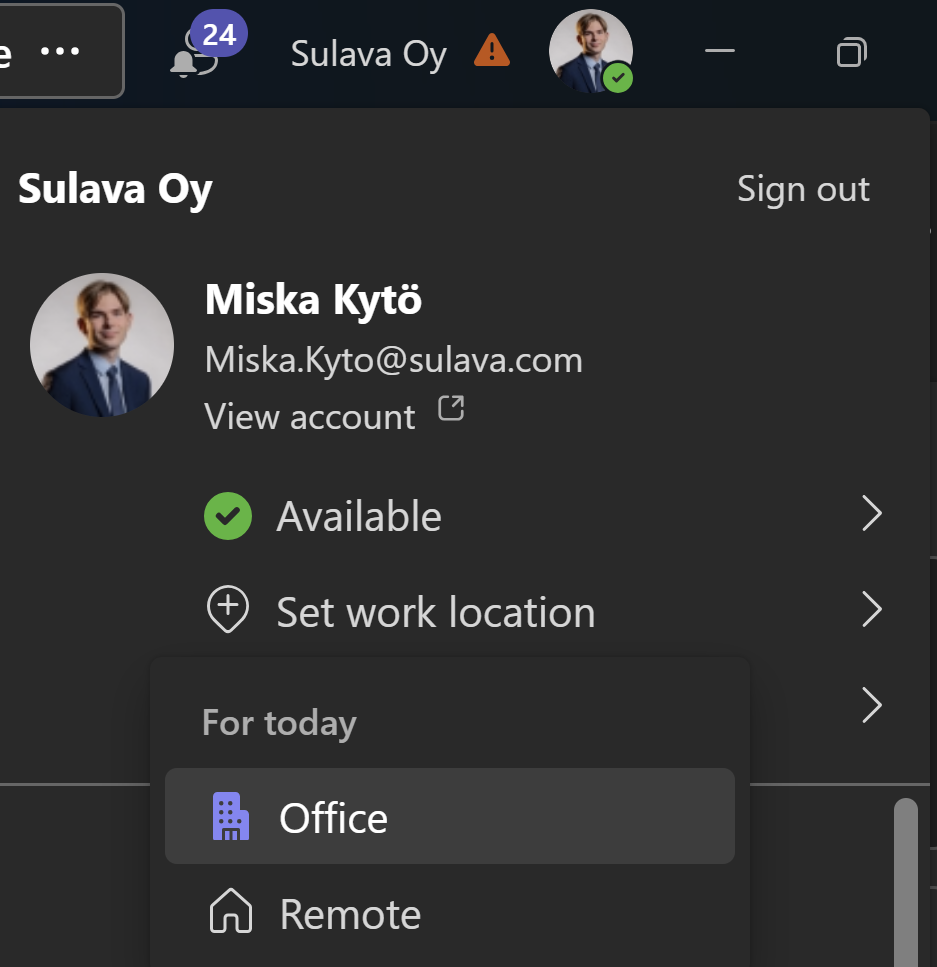
You can also easily set your status on the fly from teams by clicking your profile picture on the top right, and setting your working status from there!
Right now in the Public Preview, only the People-tab is enabled, and you can't yet see for example meeting rooms and book them from the app, but that functionality is most likely coming very soon. This serves as a great possibility to start learning to use Places and then hit the ground running when the new features come out!
I hope this gets you easily started on enabling, deploying and using Microsoft Places! If you enjoyed the blog post, don't hesitate to buy me a coffee, I'd really appreciate it!